
Ever wondered how that sturdy sheet of plywood you use for your DIY projects or that’s built into your furniture actually comes to be? It’s a pretty cool process, actually, and it all starts with a tree. Plywood isn’t just randomly glued-together wood; it’s a carefully engineered material that gets its strength from the way it’s made, and understanding that journey can be surprisingly interesting.
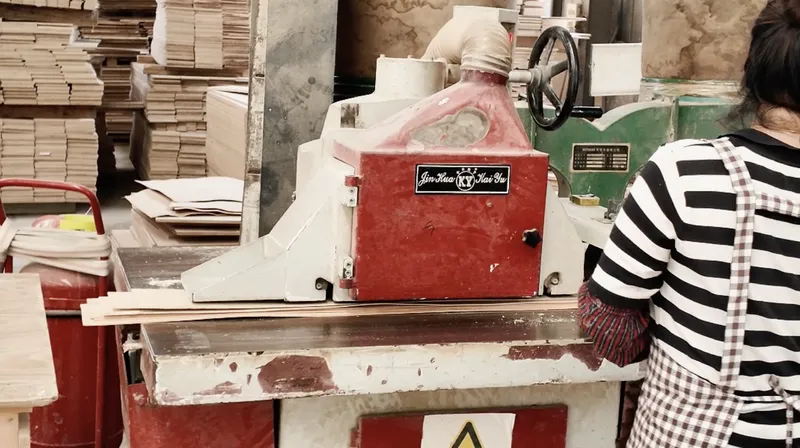
The Humble Beginnings: Tree to Log
The whole story begins in the forest. Plywood manufacturers often work with sustainably managed forests, meaning that for every tree harvested, new ones are planted. This isn’t just about environmental responsibility; it ensures a consistent supply of raw material for years to come. The trees chosen are typically fast-growing species like poplar, birch, or pine, selected for their straight grain and good veneer-making qualities.
Selecting the Right Trees
Not every tree makes the cut. Foresters assess trees based on diameter, height, and absence of major defects like large knots or rot. The goal is to get logs that are as straight and uniform as possible.
Harvesting and Transport
Once selected, the trees are felled and cut into manageable lengths. This is usually done with specialized machinery that minimizes damage to the surrounding forest. The logs are then transported from the forest to the plywood mill. This can involve trucks, rail, or even barges, depending on the location and scale of the operation. Getting these massive logs to the mill is a significant logistical undertaking.
Peeling Back the Layers: Creating the Veneers
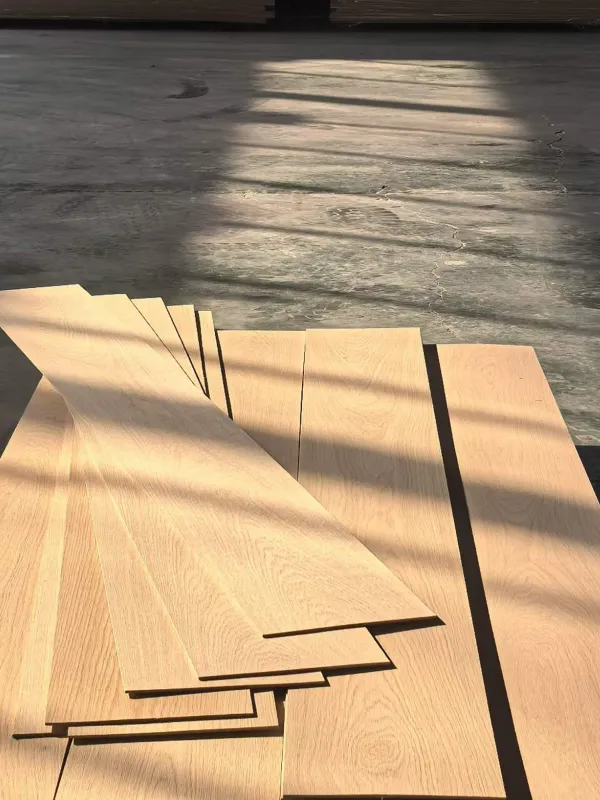
This is where the magic really starts to happen. The logs don’t get sawn into planks like traditional lumber. Instead, they’re transformed into thin sheets of wood called veneers. This process is far more efficient in terms of wood utilization and is the key to plywood’s strength.
Debarking and Trimming
Before the logs can be turned into veneers, they need to be cleaned. The bark is stripped off using powerful machines, and the ends of the logs are trimmed to create a clean surface for the next step. This ensures that the peeling process is smooth and free of debris.
The Rotary Lathe: A Giant Peeling Machine
The heart of veneer production is the rotary lathe. A log is placed in a massive machine that spins it against a long, sharp blade, similar to how you might peel an apple, but on a much larger scale. The blade peels off a continuous sheet of wood, layer by layer, as the log rotates. The thickness of these veneers can vary, but they’re typically very thin, often as little as 1/10th of an inch.
Cutting and Sorting Veneers
The continuous sheet of veneer is then fed onto a conveyor belt and cut into specific lengths and widths. These veneers are then graded based on their quality. Factors like the presence of knots, grain pattern, and any imperfections are assessed. High-grade veneers are usually reserved for the outer layers of the plywood, while lower-grade ones can be used for the inner plies.
The Glue That Holds It Together: Adhesives and Layup
Now that we have our thin sheets of wood, it’s time to start building the panels. This involves carefully arranging these veneers and bonding them together with a strong adhesive. The cross-graining technique is what gives plywood its exceptional strength.
Types of Adhesives
Plywood uses a variety of adhesives, depending on its intended use. Common options include urea-formaldehyde (UF) resins, phenol-formaldehyde (PF) resins, and sometimes even more specialized glues for exterior or marine-grade plywood. These adhesives are chosen for their strength, durability, and resistance to moisture and heat.
The Layup Process: Arranging the Plies
This is a critical step. Veneers are laid one on top of another in a specific pattern. The key principle is that the grain direction of each successive layer is oriented at a 90-degree angle to the layer below it. This is called cross-banding. For example, if one layer’s grain runs north-south, the next will run east-west, and so on. This alternating grain direction is what provides the remarkable strength and stability of plywood, preventing it from splitting or warping easily.
Applying the Adhesive
The adhesive is applied evenly to the surface of each veneer before it’s laid down, or sometimes between layers. This is done using highly precise machinery to ensure consistent coverage. Too little glue, and the panel won’t be strong enough; too much, and it can ooze out and create a mess.
Under Pressure: Pressing and Curing the Plywood
Once all the veneers are laid up and glued, the stacked sheets need to be compressed and heated to cure the adhesive. This is where the panel really takes its final form and gains its robust character.
Loading the Press
The stacked layers of veneer, now a thick “sandwich” of wood and glue, are fed into a massive hydraulic press. These presses are designed to apply enormous amounts of pressure evenly across the entire surface of the panel.
The Role of Heat and Pressure
The press simultaneously applies heat and pressure. The heat activates the adhesive, causing it to cure and bond the veneers permanently together. The pressure ensures that the veneers are pressed tightly against each other, eliminating any air gaps and creating a solid, homogeneous panel. The temperature and pressure are carefully controlled to ensure optimal bonding without damaging the wood.
Curing Time
The time spent in the press can vary depending on the type of adhesive, the thickness of the plywood panel, and the temperature used. Once the curing process is complete, the press opens, and the newly formed plywood panel is ready for the next stage.
Finishing Touches: Trimming, Sanding, and Grading
While the panel is now structurally sound, it’s not quite ready for sale. Further processing is needed to ensure it meets the required dimensions and surface quality.
Trimming to Size
The edges of the panels often come out a bit rough and uneven from the press. They are trimmed to precise dimensions using saws. This ensures that the panels are standard sizes and can be easily used in construction and manufacturing.
Sanding for a Smooth Finish
Most plywood goes through a sanding process. This removes any rough spots and surface imperfections, creating a smooth, uniform surface that’s ready for painting, staining, or other finishes. The number of sanding passes and the grit of the sandpaper used will depend on the grade and intended use of the plywood.
Grading and Quality Control
Finally, the finished plywood panels are inspected and graded. This involves checking for any defects that might have occurred during production. The grade of a plywood panel indicates its quality, primarily based on the appearance and condition of its face veneers and any internal structural integrity issues. Grades can range from A (very few defects) to D (significant defects allowed), and different grades are suited for different applications.
The journey of plywood, from a standing tree to a finished panel, is a testament to engineering and efficient material use. It’s a process that’s been refined over decades, transforming a simple log into an incredibly versatile and strong building material. Understanding this intricate process really does give you a new appreciation for every sheet of plywood you encounter.